

Setup
Install the connector
Open the Plant 3D connector
- In Plant 3D, select the Speckle tab in the ribbon.
- Select Speckle to open the Plant 3D connector.
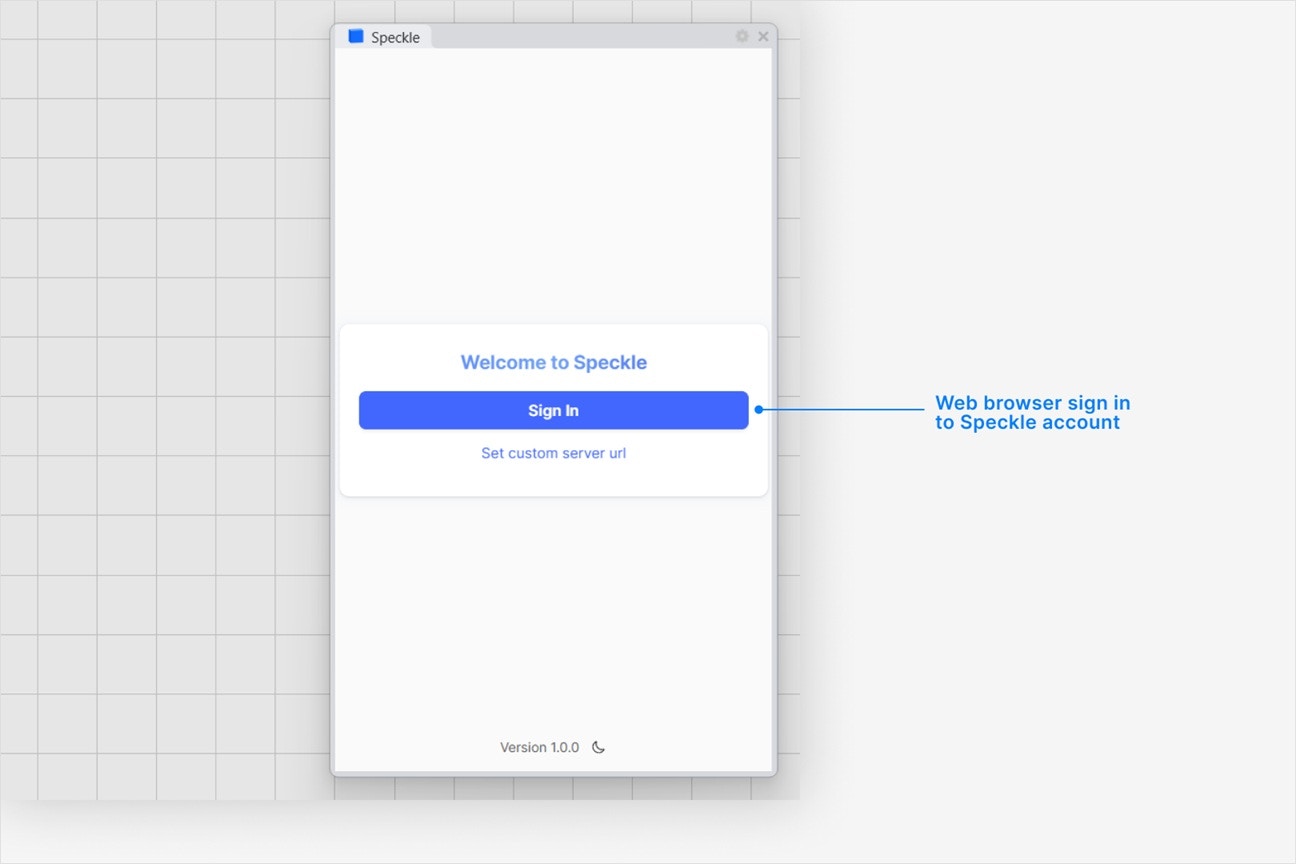
- Select Sign in if you haven’t linked your Speckle account.
Why is the Speckle plugin not showing up after I installed the connector?
Why is the Speckle plugin not showing up after I installed the connector?
- Make sure your version of is one of the supported versions.
- Uninstall and reinstall your connector.
.exe or right-clicking and then selecting Open to run the installer.
Installation issues can also be caused by conflicting plugins.If you’re still experiencing problems, please report it in our Community Forum and include the following information:- Your application version
- Your Speckle connector version
What should I do if the plugin UI is empty or unresponsive, or if my application crashes?
What should I do if the plugin UI is empty or unresponsive, or if my application crashes?
log file in your directory at
AppData\Roaming\Speckle\Logs. Please report your problem in our Community
Forum and include the following information: - Your application
version - Your Speckle connector version - A copy of the logWhy can't I add a new account?
Why can't I add a new account?
How do I uninstall my connector?
How do I uninstall my connector?
Applications. For a full uninstall, you should also remove Speckle Desktop
Services as well as your Speckle connector.How do I update my connector to the latest version?
How do I update my connector to the latest version?
Publishing a Model
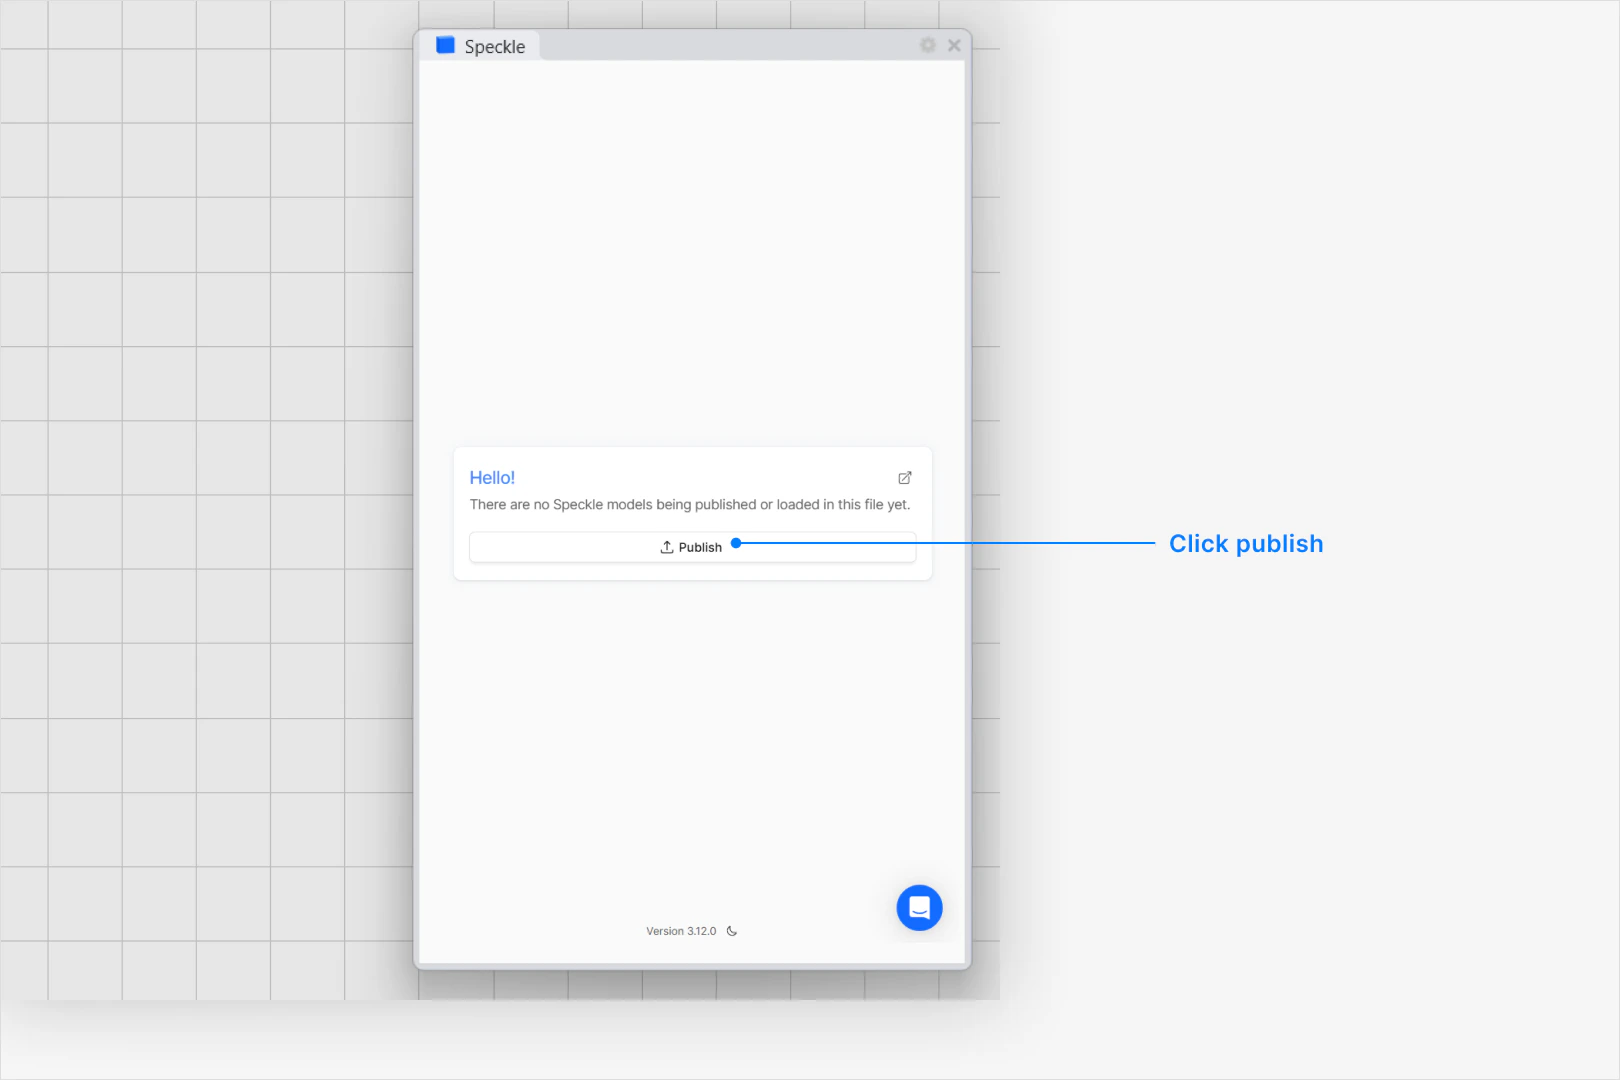
Select Publish
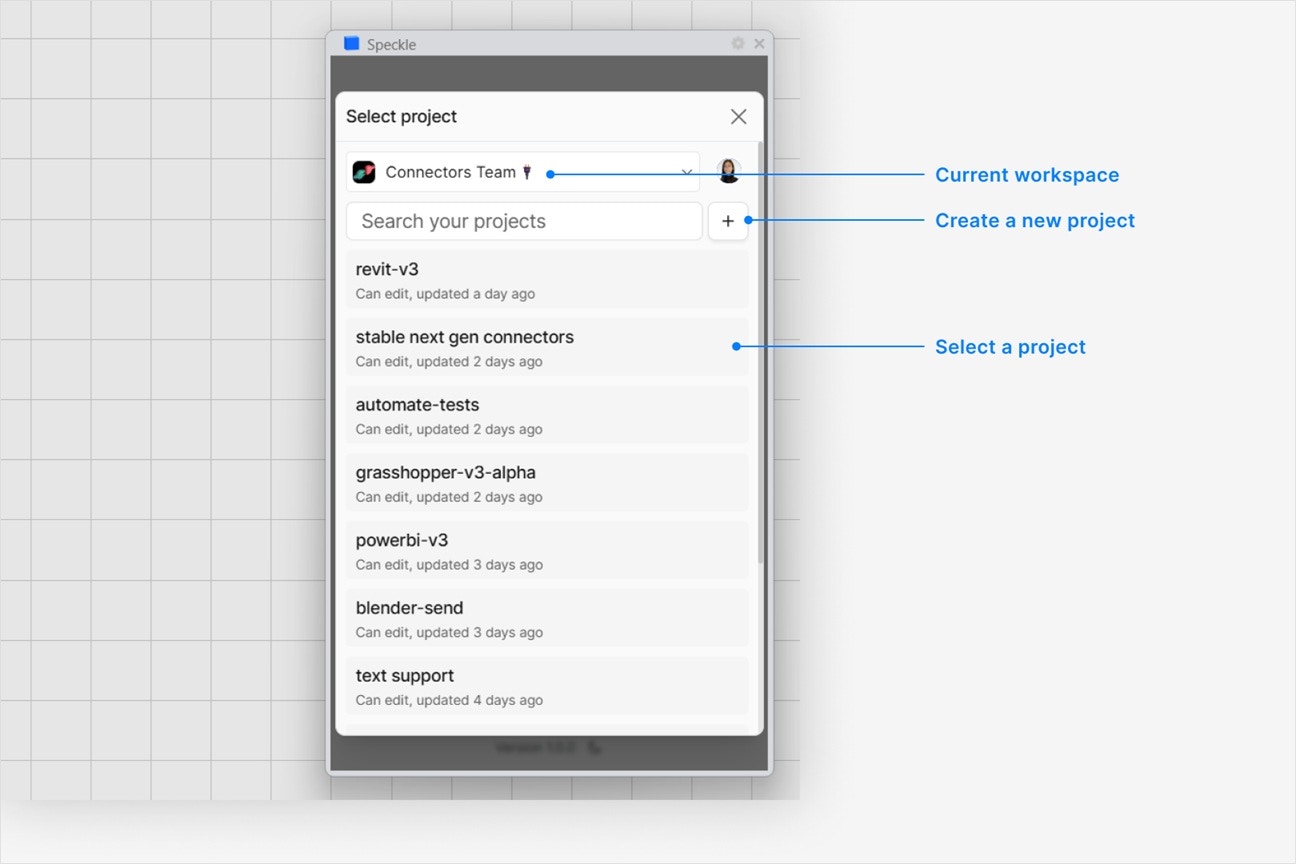
Choose a project
- Select an existing project - or select New Project to create one
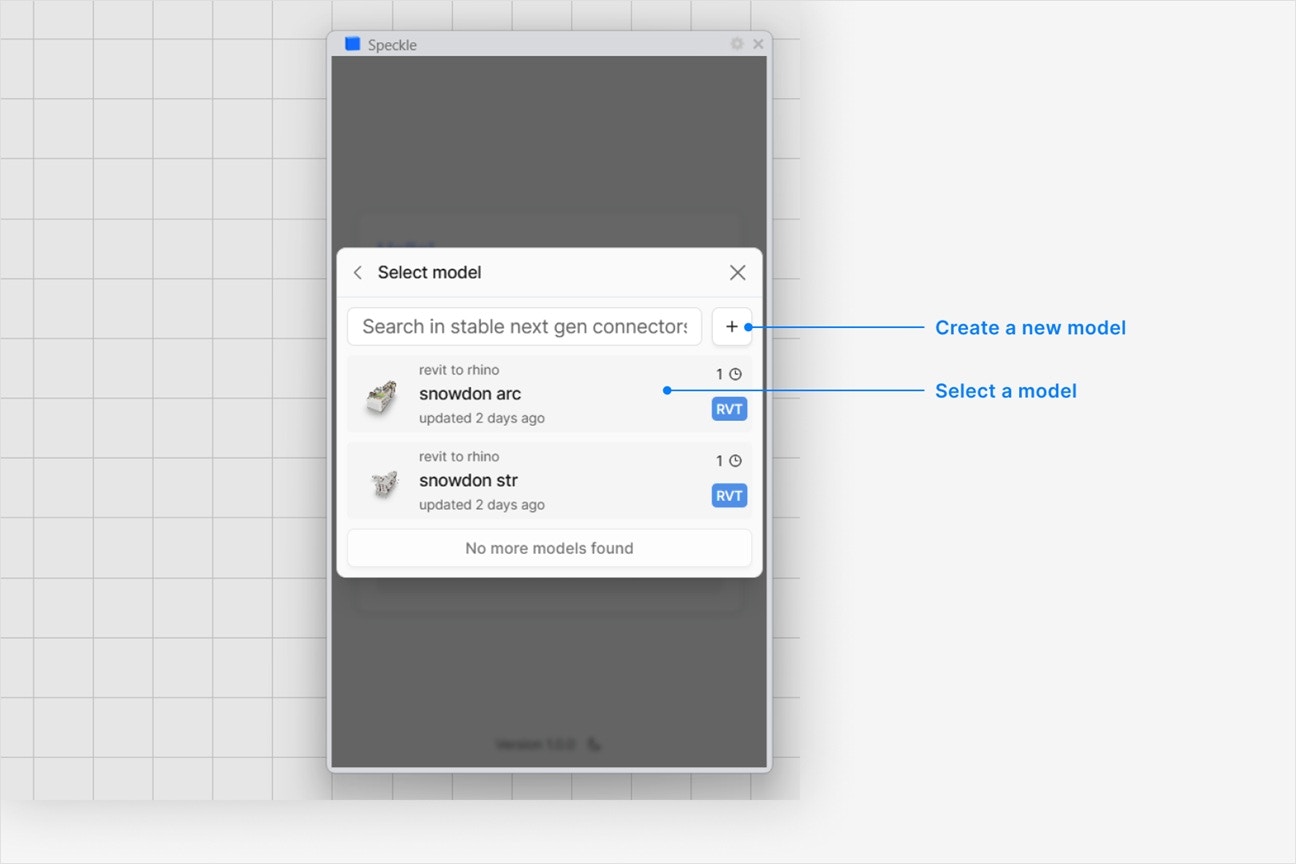
Choose a model
- Select an existing model - or select New Model to create one
Select objects to publish
- In your application viewport, select the elements you want to publish.
- Select Publish.
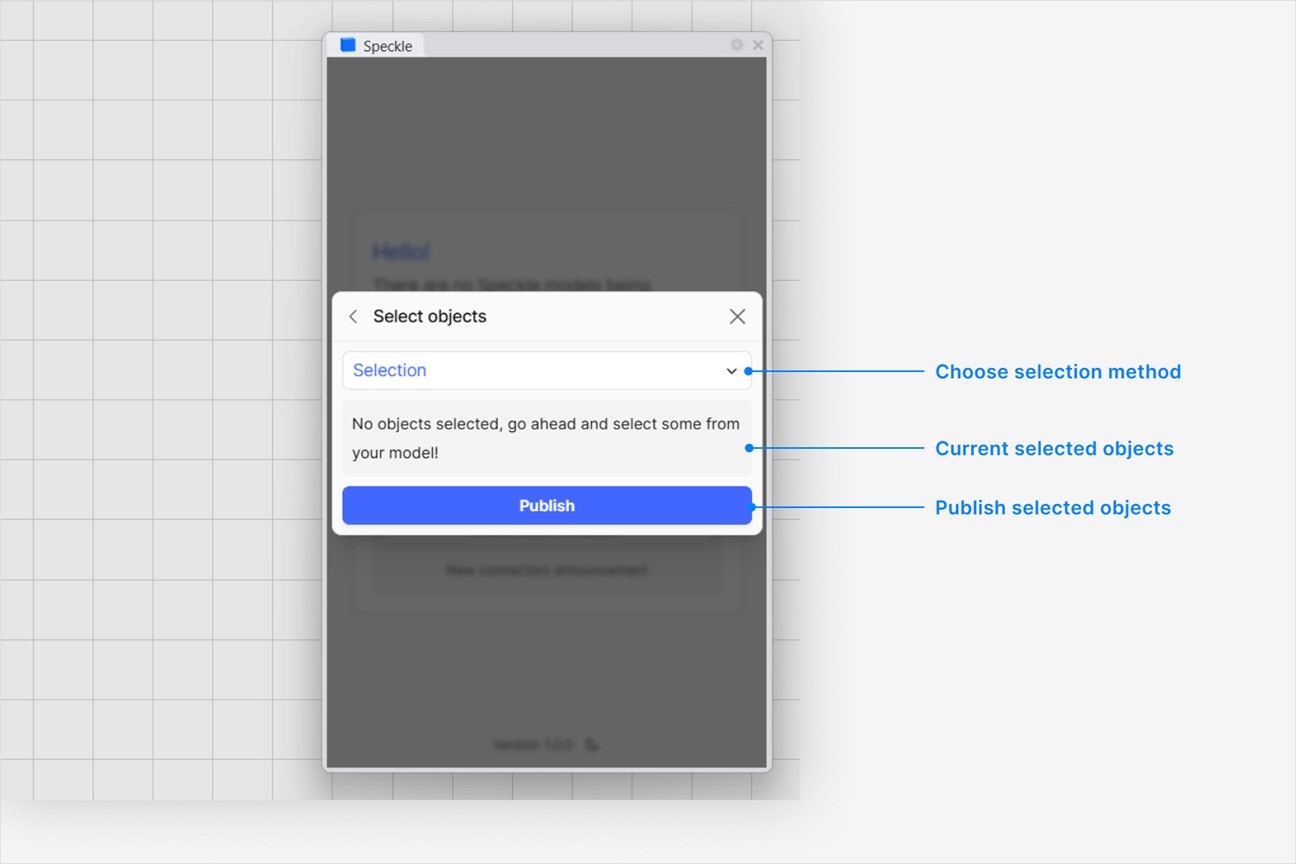
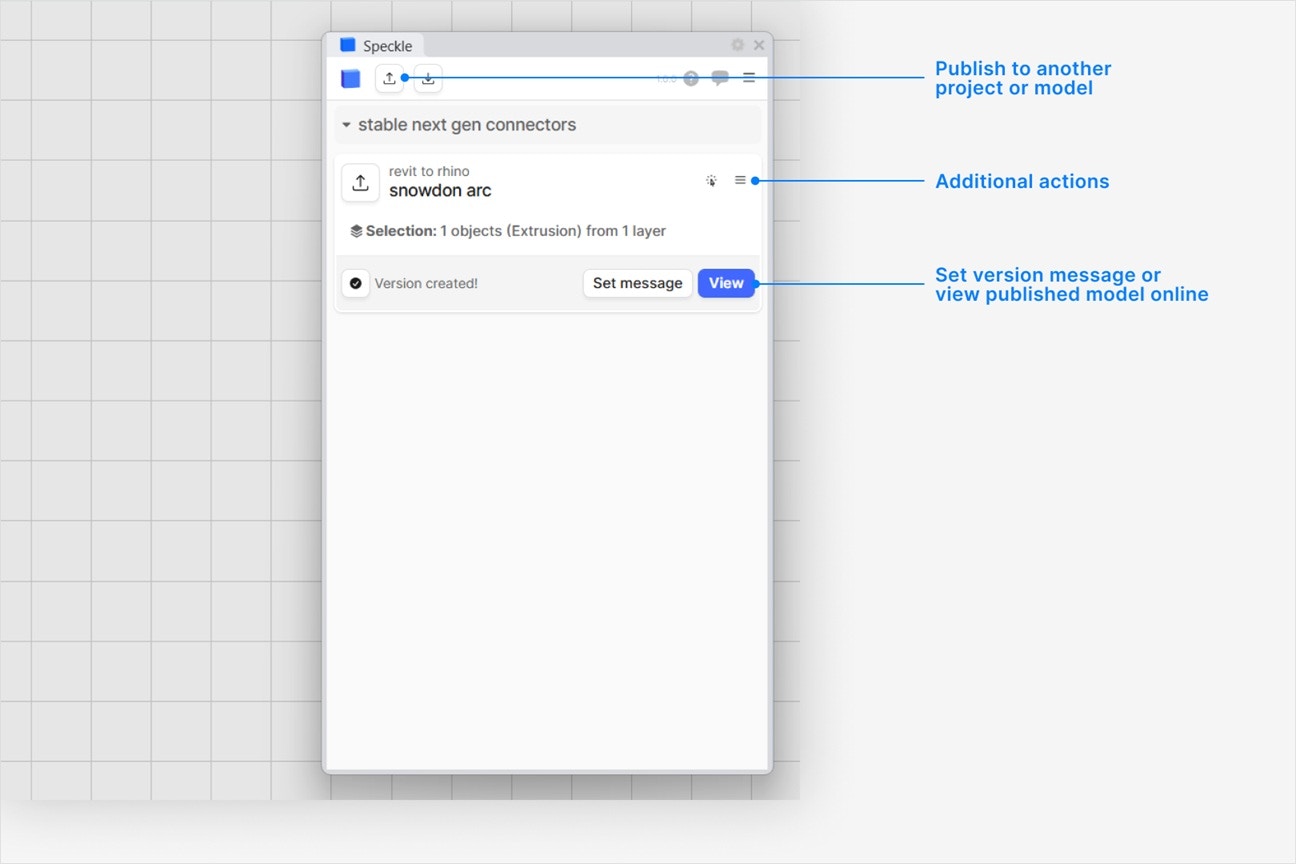
- Your model is now published to Speckle and is available to the rest of your team.
What types of Plant 3D objects can I publish to Speckle?
What types of Plant 3D objects can I publish to Speckle?
- pipes
- inline assets, including fittings and valves
- equipment
- P&ID objects, including assets and line segments
Which Plant 3D properties are published?
Which Plant 3D properties are published?
P&ID in the object’s properties in Speckle.Extension dictionary and other available object properties are also included. The exact fields
depend on the object’s class and the data defined in your Plant 3D project.How is Plant 3D geometry represented in Speckle?
How is Plant 3D geometry represented in Speckle?
How are published objects organized?
How are published objects organized?
Why are some Plant 3D objects missing geometry?
Why are some Plant 3D objects missing geometry?
Why is my new model name pre-filled?
Why is my new model name pre-filled?
Why does my model have the wrong colors in the web browser viewer?
Why does my model have the wrong colors in the web browser viewer?
Are bitmap or image-based material textures supported?
Are bitmap or image-based material textures supported?
Why are some objects that I published missing from my model?
Why are some objects that I published missing from my model?